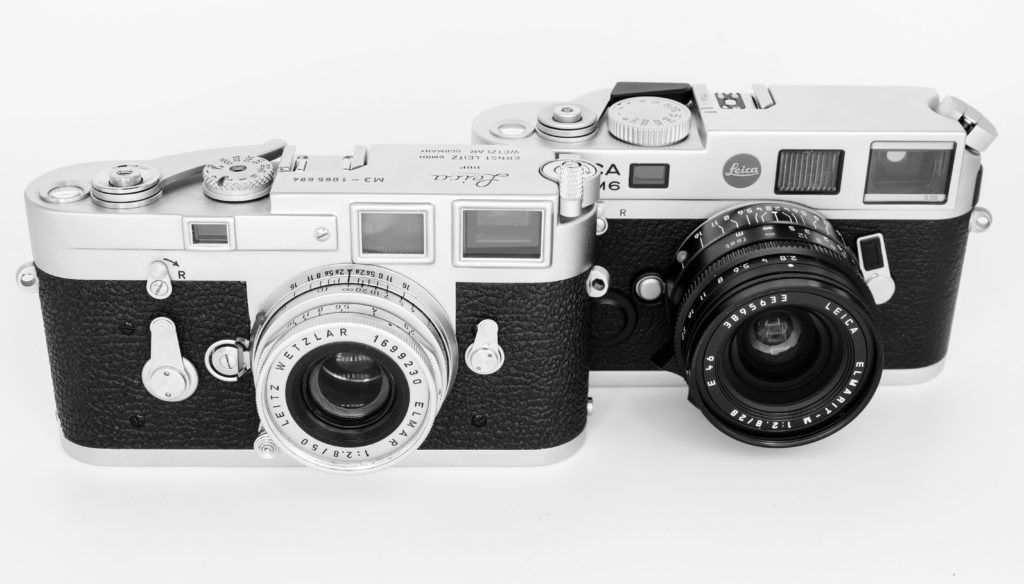
The M6 and M6 TTL are both regularly eulogised as the greatest rangefinders, and sometimes the greatest film cameras of all time. This accolade is usually reserved for the 0.85 viewfinder version, primarily because it handles critical focusing with fast lenses better than the other models. This was the M6 TTL model I decided to buy.
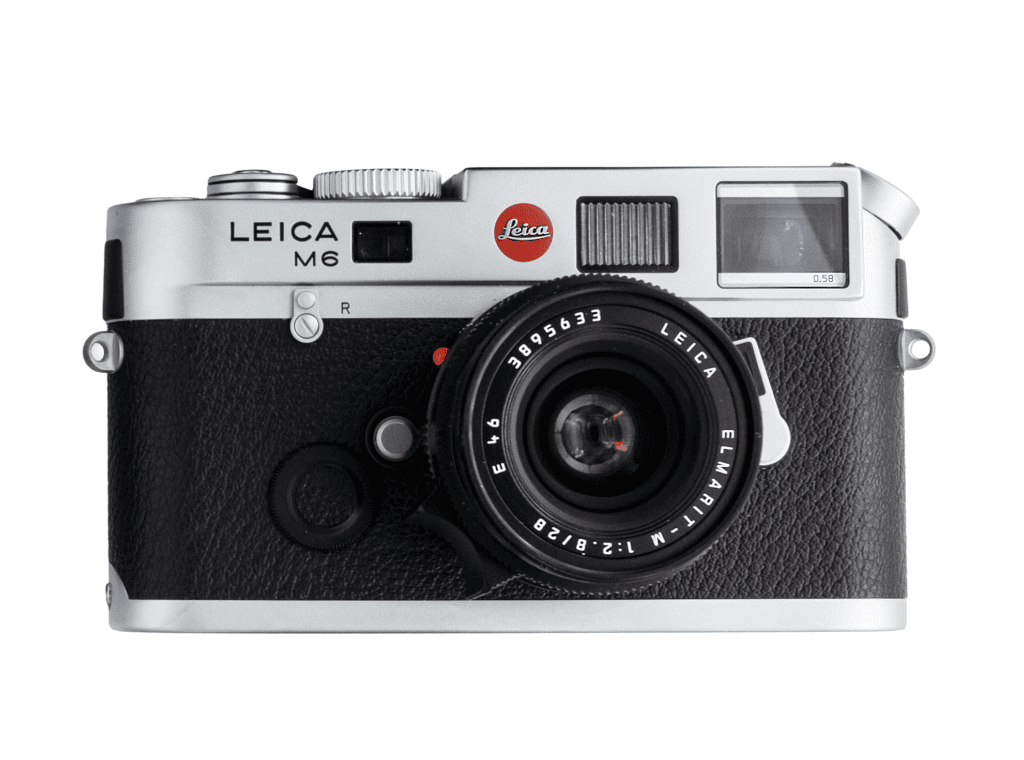
However, the M6 TTL that arrived from the dealer was the 0.58, which was an unwelcome surprise. This is a wide-angle variant, equipped with the lowest magnification finder on a Leica M film body, and aimed at wide-angle shooters and spectacle wearers who found it difficult to see the full framelines on higher magnification models. It is a model that has its fans, but is not typically the subject of the same degree of reverence.
A return was going to prove to be expensive due to import charges. So, after some negotiation with the dealer, I reluctantly agreed to keep the 0.58 at an advantageous price, with the intention of getting a 0.85 M7 to accompany it later. Surprisingly, and partly due to the influence of the Leica Q and Q2 (more of which later), it is the M6 TTL that has become my favourite Leica film camera.
I enjoy researching the background to the cameras I use, so this is the story of the M6 TTL, the development of the Leica M viewfinder variants, and why the 0.58 model has earned my affection.
Background: From the M3 to the M6
To understand the evolution of the Leica M series leading up to the M6 TTL, it is important to add a little context on two developments: the introduction of a built-in light meter and viewfinder magnification options.
A Note on Rangefinder Optics
Unlike SLRs, which show the scene directly through the taking lens via a mirror and prism, rangefinders cannot present what the lens ‘sees’ in the finder. Instead, the Leica M and other rangefinders use a separate viewfinder window for composition, which shows a wider field than the lens records. To frame what will actually be captured, bright framelines are projected into the finder. These change according to the lens that is mounted, sometimes as a single frame and sometimes in pairs. SLRs avoid this issue because the finder image comes directly through the lens, eliminating the need for framelines.
Rangefinders are also limited to lenses of a maximum of 135 mm focal length because of the combined constraints of viewfinder scale and focusing accuracy. As the focal length of the lens increases, the view through the finder represents a narrower angle, so the corresponding frameline shrinks within the viewfinder. This makes composition progressively more difficult.
At the same time, longer and faster lenses demand increasingly precise focusing, and the rangefinder’s Effective Base Length reaches its practical limit around 135 mm. Beyond this point, accurate framing and focusing become too difficult for practical use.
Finder Magnification
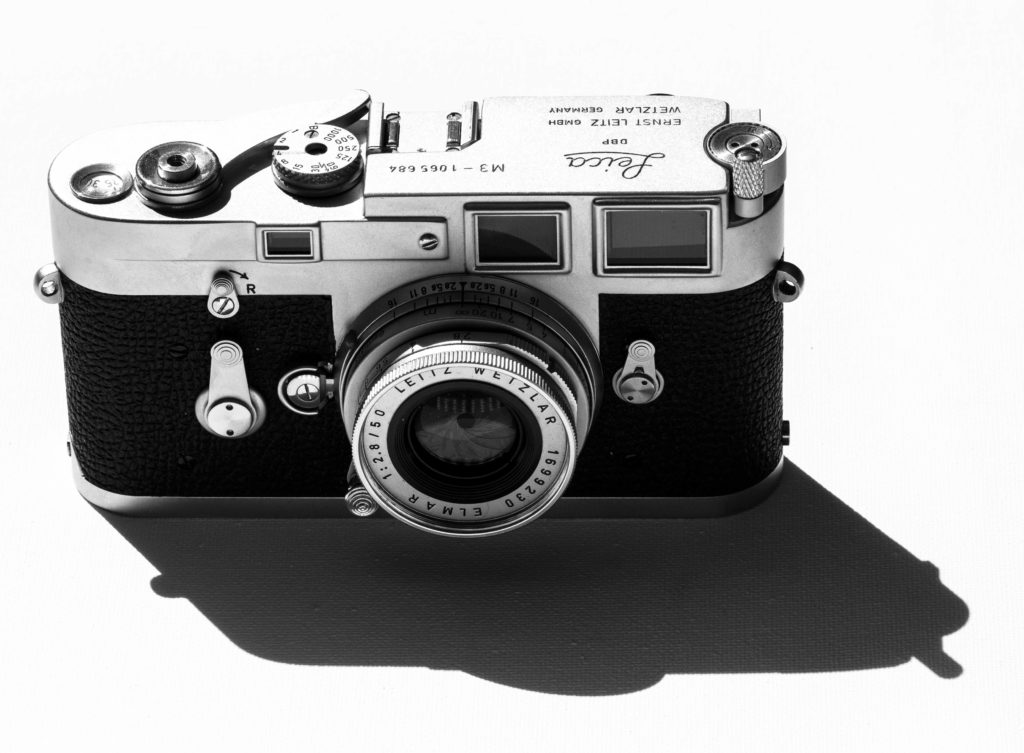
The Leica M3 of 1954 used a 0.91× finder, which was ideal for 50 mm and longer lenses but required auxiliary optics for wider focal lengths.
With the M2 (1957), Leica settled on 0.72× magnification as the best compromise, a standard carried through the M4 (1967), the M5 (1971), and the Canadian models, the M4-2 (1977) and M4-P (1980–1986).
Light Meter Development
The M5 (1971) introduced through-the-lens (TTL) light measurement, but the design was poorly received. Leica abandoned a meter with the M4-2 and M4-P, leaving users to rely on the shoe-mounted Leica-meter. By the early 1980s, however, virtually every professional SLR offered TTL metering as standard, making this omission increasingly untenable.
Leica realised the M needed to be brought up to date while retaining its core identity of a compact form, mechanical reliability, and longevity – without incurring prohibitive development costs.
TTL metering was the least intrusive upgrade Leica could make, requiring only a modest change to the body design (adding light metering diodes and LEDs in the finder) and preserving the fully mechanical shutter and manual exposure control.
Predecessor: The Leica M6 “Classic” (1984–1998)
The result was the Leica M6 (now known as the ‘M6 Classic’ – never an official designation). A prototype was developed in 1981, and the model was launched in 1984, becoming the first M with built-in TTL light metering. This was a centre-weighted system that reads from a 12mm spot on the shutter curtain and displays the exposure with a pair of LEDs in the finder. The M6 featured a die-cast zinc body with zinc top and bottom plates, and was offered only in a black finish.
The M6 was updated in 1986 with the addition of plastic protective inserts above the strap lugs and the addition of a chrome finish alongside black. In 1987, the top plate engraving was simplified to a large “M6” without “Leica” above it. Further stylistic changes occurred in 1988 when production moved from Wetzlar to Solms – the engraving changed to “LEICA GMBH GERMANY and the red dot changed from “Leitz” to “Leica.”
Later, there were numerous limited edition versions for collectors of both the M6 and M6 TTL, the most important of which was the M6J special edition in 1994, which introduced the 0.85× finder.
The M6J – 1994
After the M3, with its tele-friendly 0.91 magnification, 0.72× magnification became the defining standard for Leica M rangefinders. The M2, M4, M5, M4-2, M4-P, M6 Classic, all used the 0.72× finder exclusively, as did the 2014 M-A.
The lower magnification struck a balance: it preserved sufficient focusing accuracy for 50 mm and longer lenses, while making 35 mm framelines visible without auxiliary “goggles,” which was increasingly important for photojournalists and documentary photographers.
Whilst 0.72× might offer the best balance, a tele viewfinder is useful with 50 mm lenses, especially fast ones like the Summilux or Noctilux, where the higher magnification improves focusing precision, and it becomes essential for longer focal lengths, not least because it offers framelines for tele lenses.
Accordingly, Lecia added a tele option with the M6J in 1994, a Special Edition 40th Anniversary Leica M. This introduced the 0.85× finder, a first since the M3’s 0.91×. It also excluded the 28 mm frameline, reinforcing its focus on longer lenses, though, unfortunately for 75/1.4 Summilux users, a 75 mm frameline was not added as well.
The M6J generated demand for regular M6’s to be converted to the .85 M6J finder. Once the M6J production run of 1640 cameras (40 cameras for each year of the 40 years of M production) has sold out, unsurprisingly, Leica received many requests for a regular M6 with the higher magnification finder. Thus, the .85 finder M6 finder was introduced in the Leica M lineup four years later in 1998.
Leica M6 TTL (1998–2002)
By the late 1990s, TTL flash metering had become standard even in mid-range SLRs from Nikon, Canon, and Minolta, which set expectations for both professional and enthusiast photographers. Leica’s rangefinders were primarily used by photojournalists, street photographers, and documentary shooters, many of whom avoided flash entirely. However, a subset of users, particularly those doing event or portrait photography, wanted more accurate flash results than manual flash offered.
Leica responded by adding TTL off-the-film flash metering to the M6 design, while also addressing the ergonomics of the shutter dial and metering display. Here is a rundown of the most significant differences between the M6 and the M6 TTL:
M6 TTL Changes
- TTL Flash Control
- Hotshoe engraved with “TTL” and a flash bolt.
- Four contacts in the shoe instead of one.
- Finder now included a flash-ready LED in addition to the three meter LEDs.
- Revised Meter Display
- From two LEDs (> and <) to three LEDs (> o <)
- Shutter Speed Dial
- Enlarged for easier use at eye level.
- Rotated in the logical direction matching meter arrows (opposite to M6 Classic).
- Body Height
- 2.5mm taller than the Classic to accommodate the TTL circuitry
- Advance Lever
- Now with an articulated plastic tip, often criticized but useful in cold climates
There were three variants of the M6 TTL, two of which were introduced at launch, which are shown in the table below.
| M6 TTL Version | Introduced | Frameline Configuration |
| M6 TTL 0.72× | 1998 | 28 + 90 mm 35 + 135 mm 50 + 75 mm |
| M6 TTL 0.85× | 1998 | 35 + 135 mm, 50 + 75 mm 90 mm |
| M6 TTL 0.58× | 2000 | 28 + 90 mm 35 mm 50 + 75 mm |
Wide Angle Shooting – and External Viewfinders
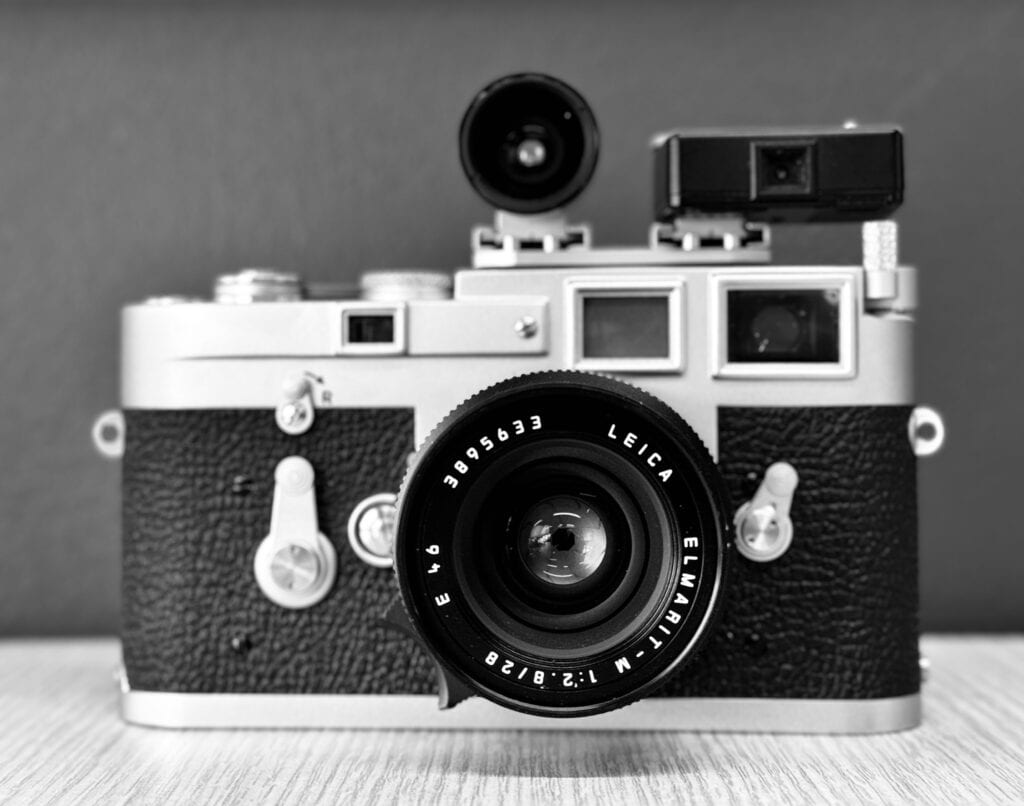
Before Leica introduced wide-angle framelines into the M viewfinder, photographers relied on external viewfinders mounted on the accessory shoe to compose with lenses wider than 50 mm. The Leica M3, with its high-magnification 0.91× finder, had framelines only for 50, 90, and 135 mm lenses. To use the then-new 35 mm Summicron, Leica supplied “goggles” (optical adapters) that modified both view and rangefinder, or an external 35 mm finder such as the SBOOI. As Leica added 35 mm framelines in the M2 (1957), external finders became primarily associated with 28 mm, 24 mm, and 21 mm lenses, which were too wide for the in-camera framelines of the time.
These finders allowed accurate composition but required separate focusing through the camera’s rangefinder, then recomposing with the accessory finder. Even into the M4-P and M6 era, when 28 mm framelines were added, lenses of 21 mm and wider still required an external finder, making them a distinctive part of Leica rangefinder shooting.
A Lightweight Film Camera
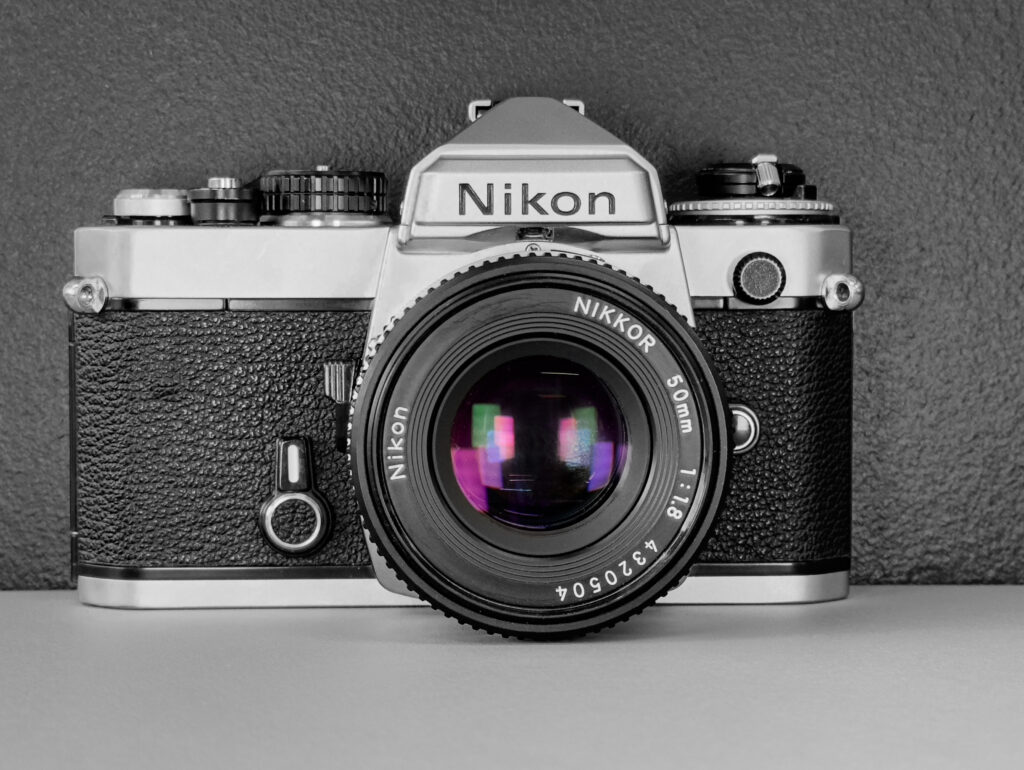
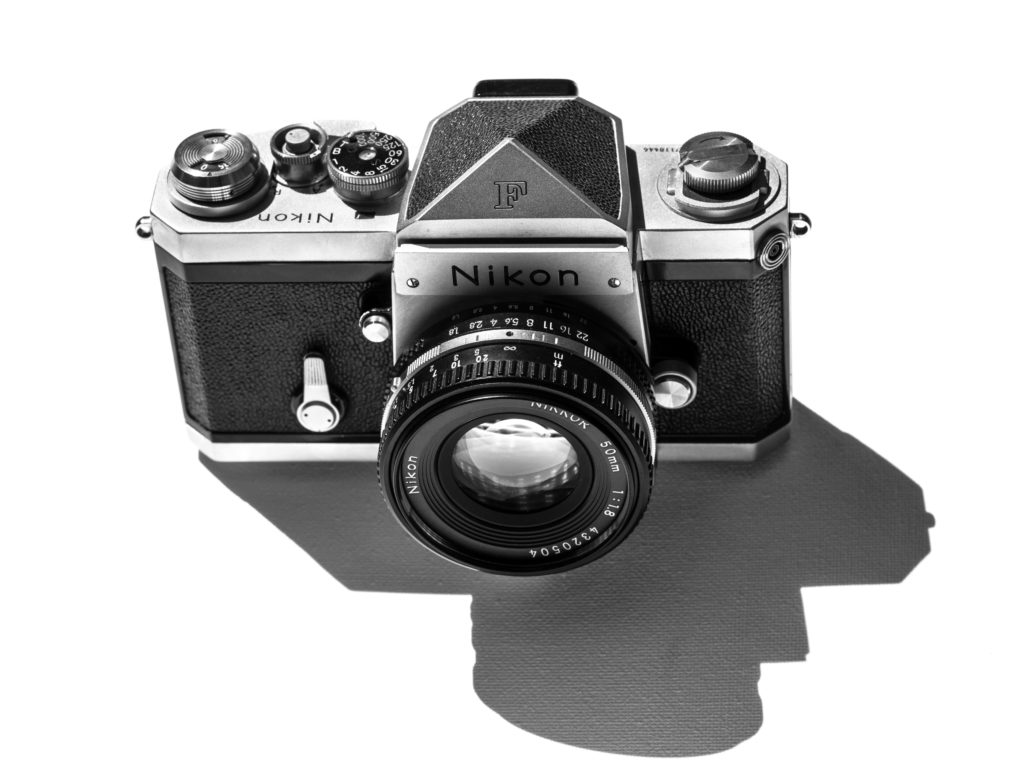
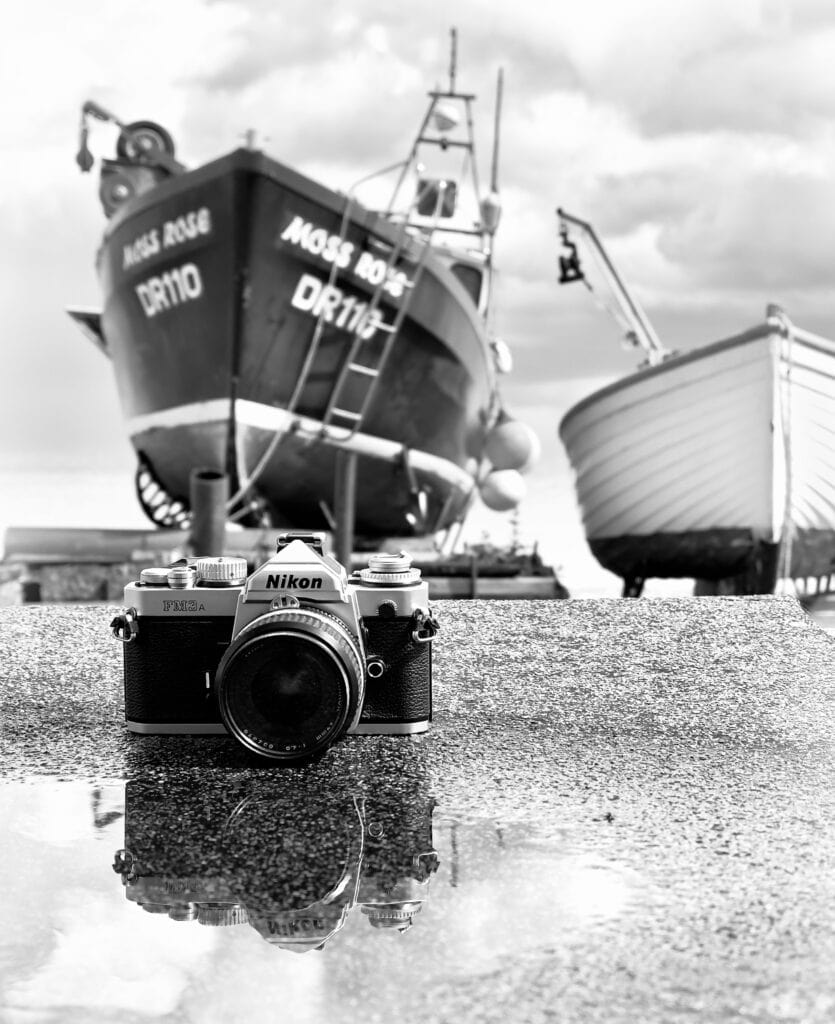
The M6 TTL isn’t the lightest manual focus metered 35mm camera. That distinction, in my collection at least, goes to the featherweight Olympus OM-1m, closely followed by the Nikon FM2N. The table below shows the leaders for that type of camera in my collection.
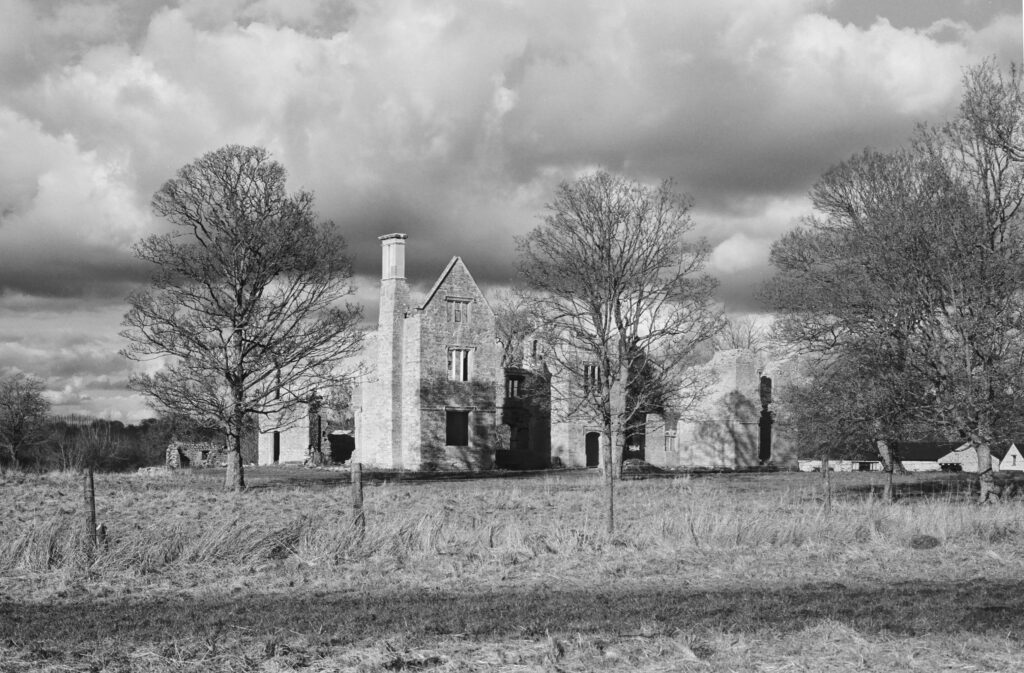
However, it is the lenses that make it such a great choice for landscape photography when weight is at a premium, as you can carry the highest quality glass without much of a weight penalty.
| Manufacturer | Model | Introduced | Type | AE | Wt (g) |
| Olympus | OM-1n | 1979 | SLR | N | 510 |
| Nikon | FM2N | 1984 | SLR | N | 540 |
| Nikon | FE2 | 1983 | SLR | AE | 550 |
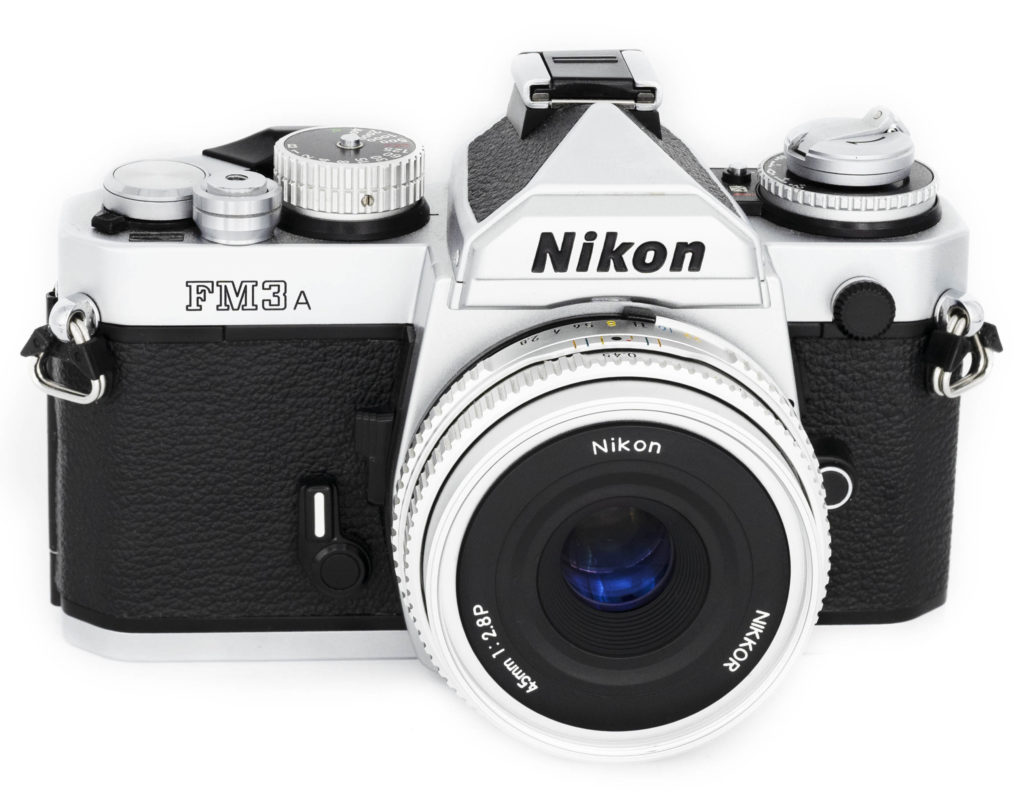
| Nikon | FM3A | 2001 | SLR | AE | 570 |
| Leica | M6 TTL | 1998 | RF | N | 585 |
| Leica | M7 | 2002 | RF | AE | 610 |
| Nikon | F3 HP | 1982 | SLR | AE | 715 |
Shooting with the M6 TTL 0.58
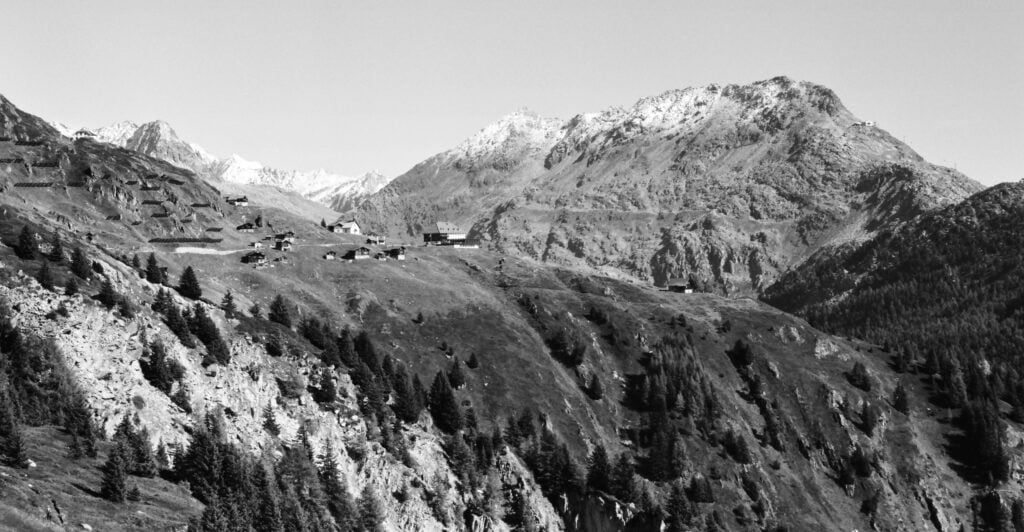
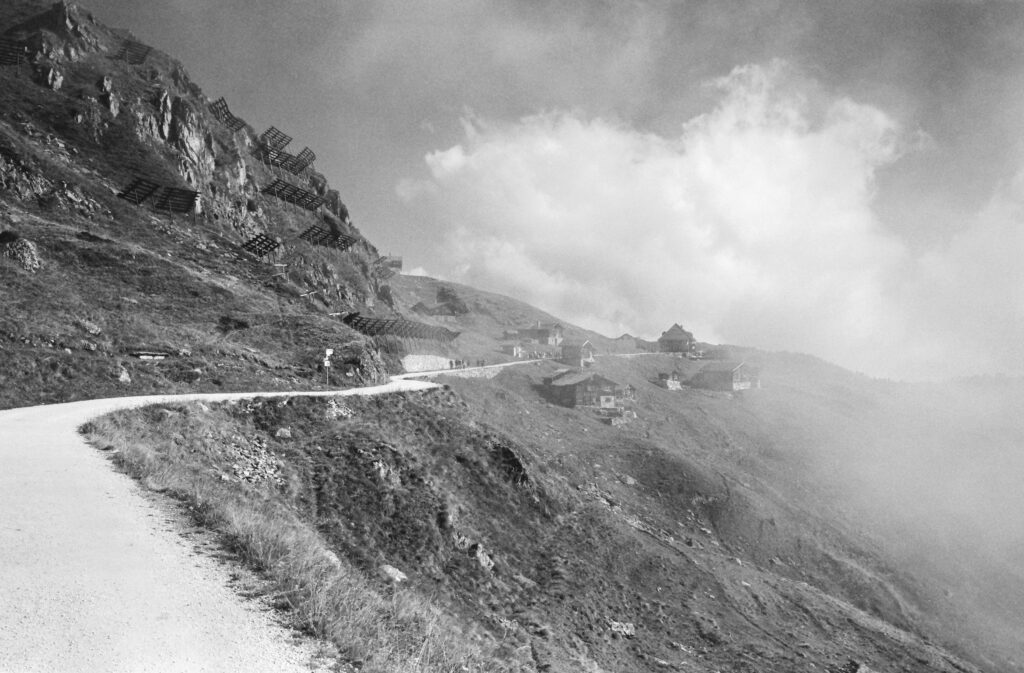
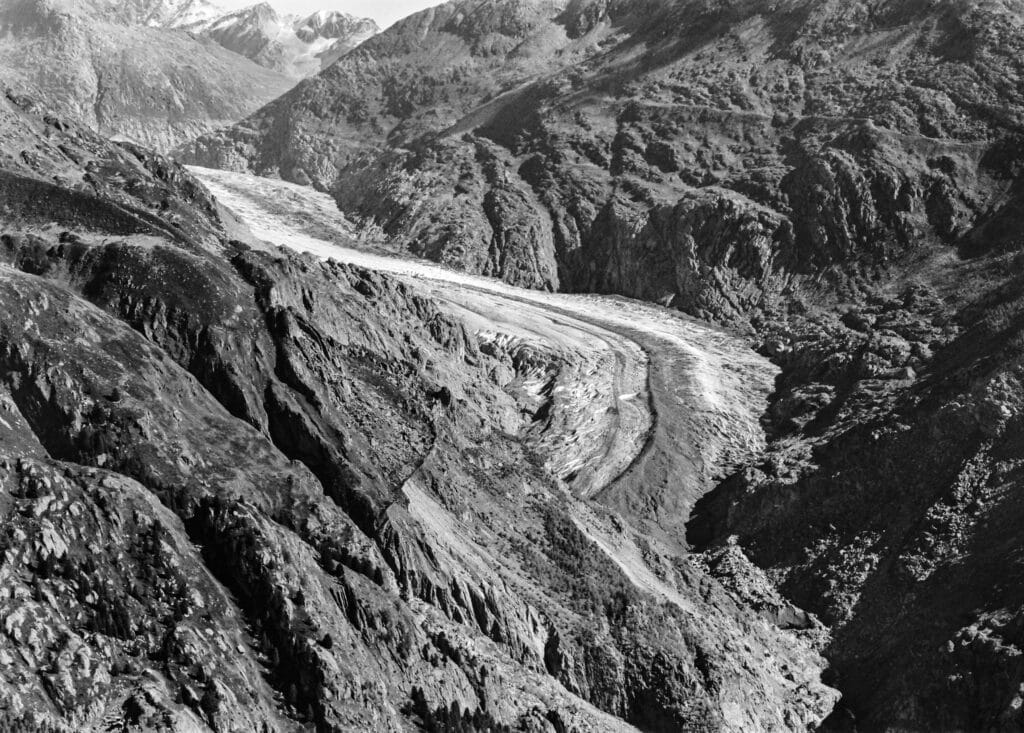
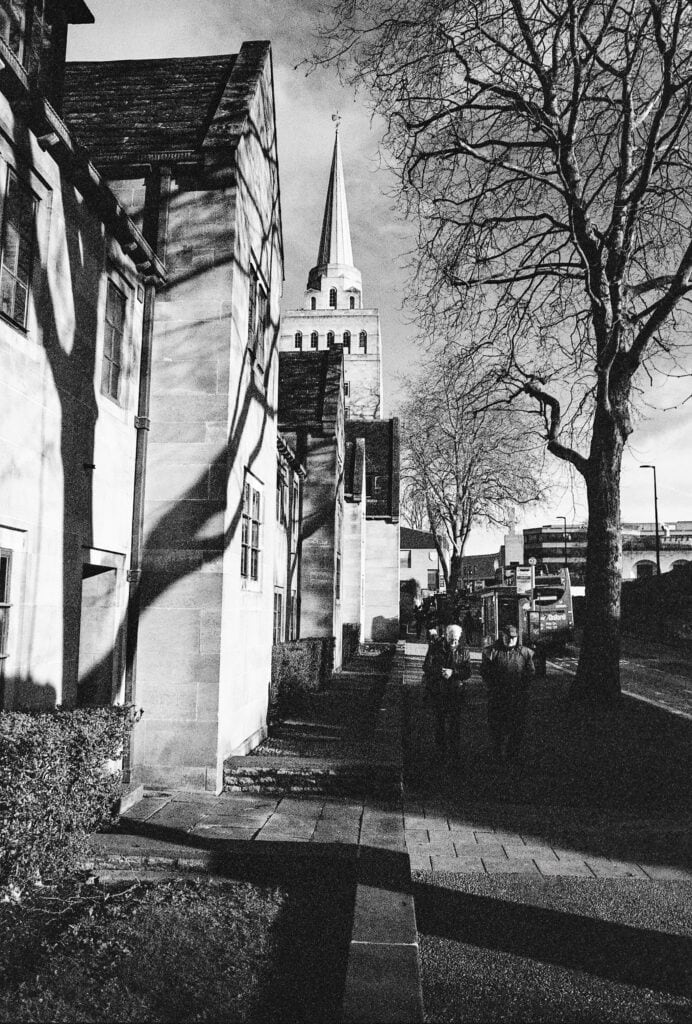
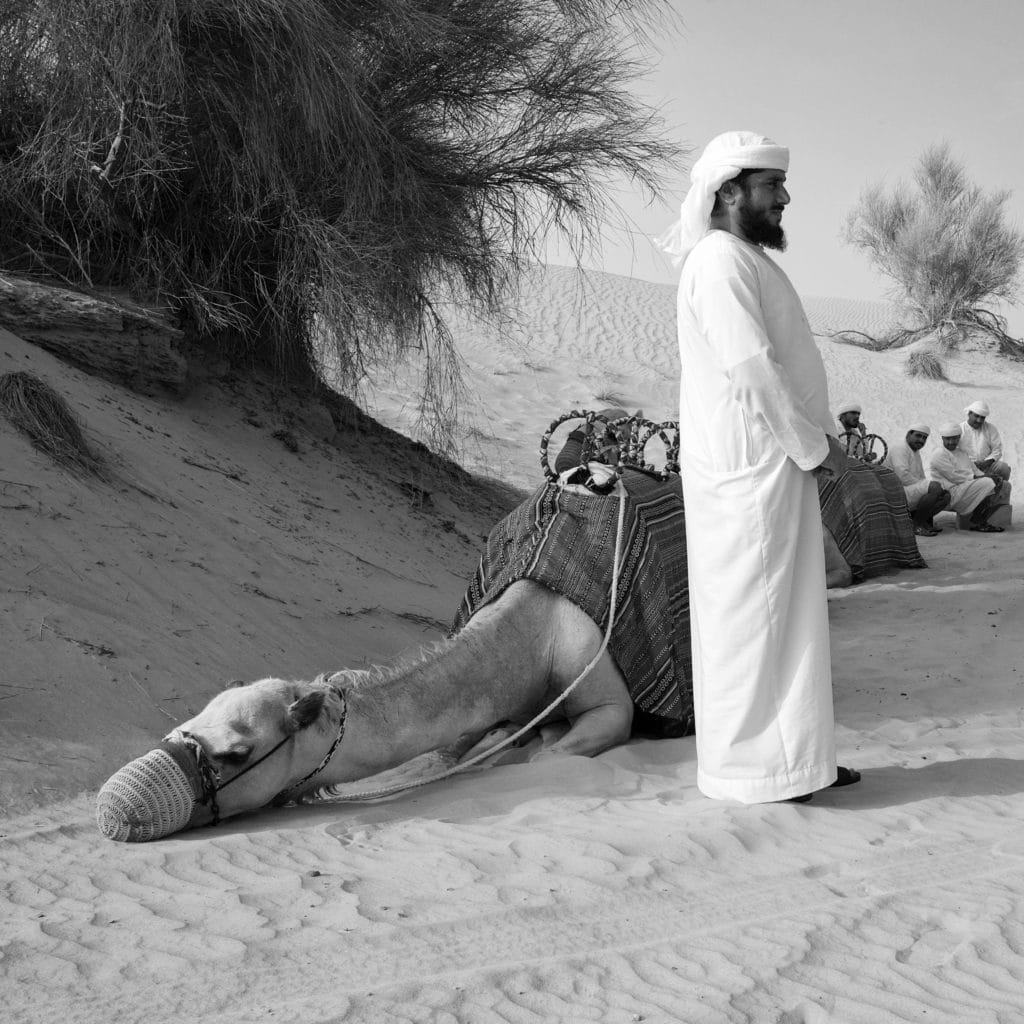
My first real shooting opportunity with the M6 TTL came at a friend’s 60th birthday, which he hosted near his home in Belap, Switzerland. It was a spectacular setting as the high-altitude resort overlooked the Great Alestch Glacier, the longest and largest glacier in the Alps. On the day we were leaving, low clouds rolled in, and it was an unforgettable experience to walk amongst them, with the scenery appearing and disappearing as the clouds rolled past.
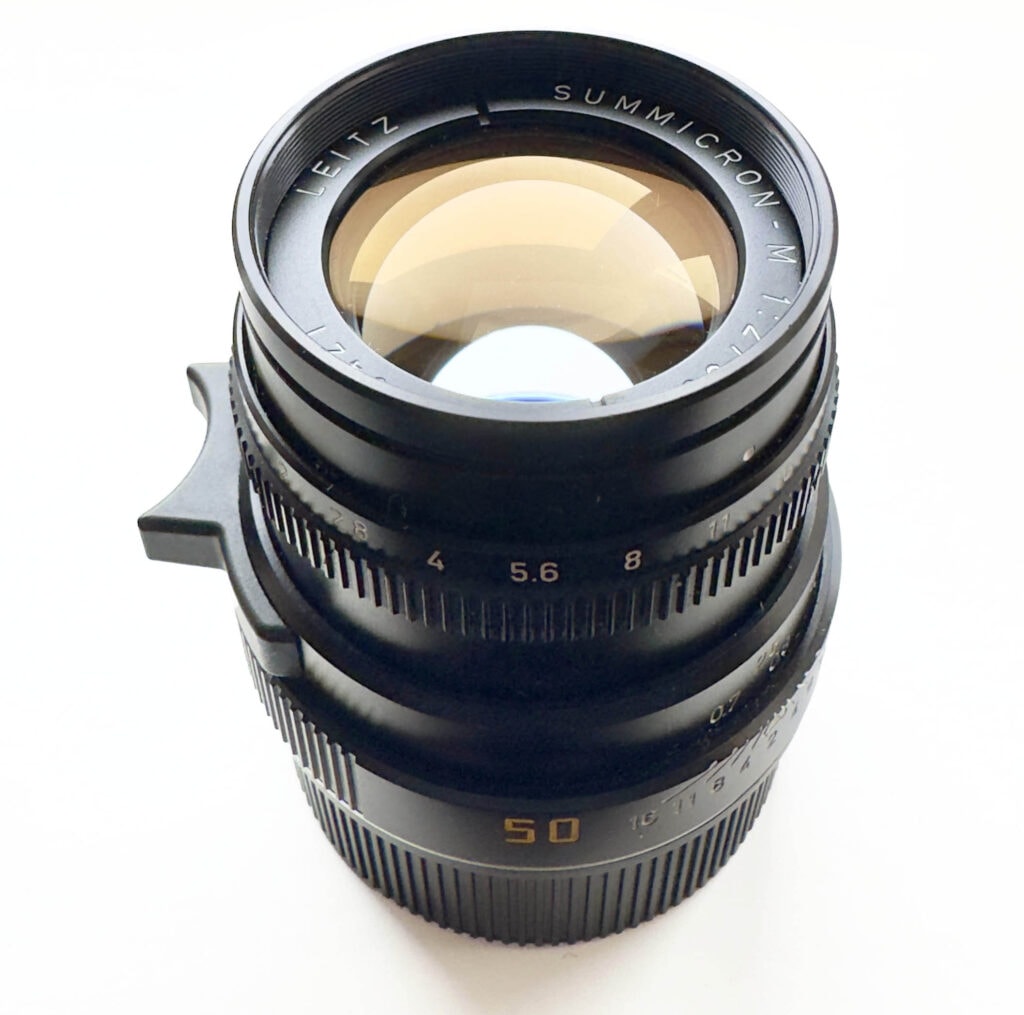
Along with the 28mm Elmarit-M lens that I use so often, I took the Summicron-M 50mm and Elmarit-M 90mm f2.8 that I used with the M7. I included these on the basis that I was likely to be focused at infinity, so focusing accuracy with the 0.58 wouldn’t be an issue – an assumption that proved to be correct.
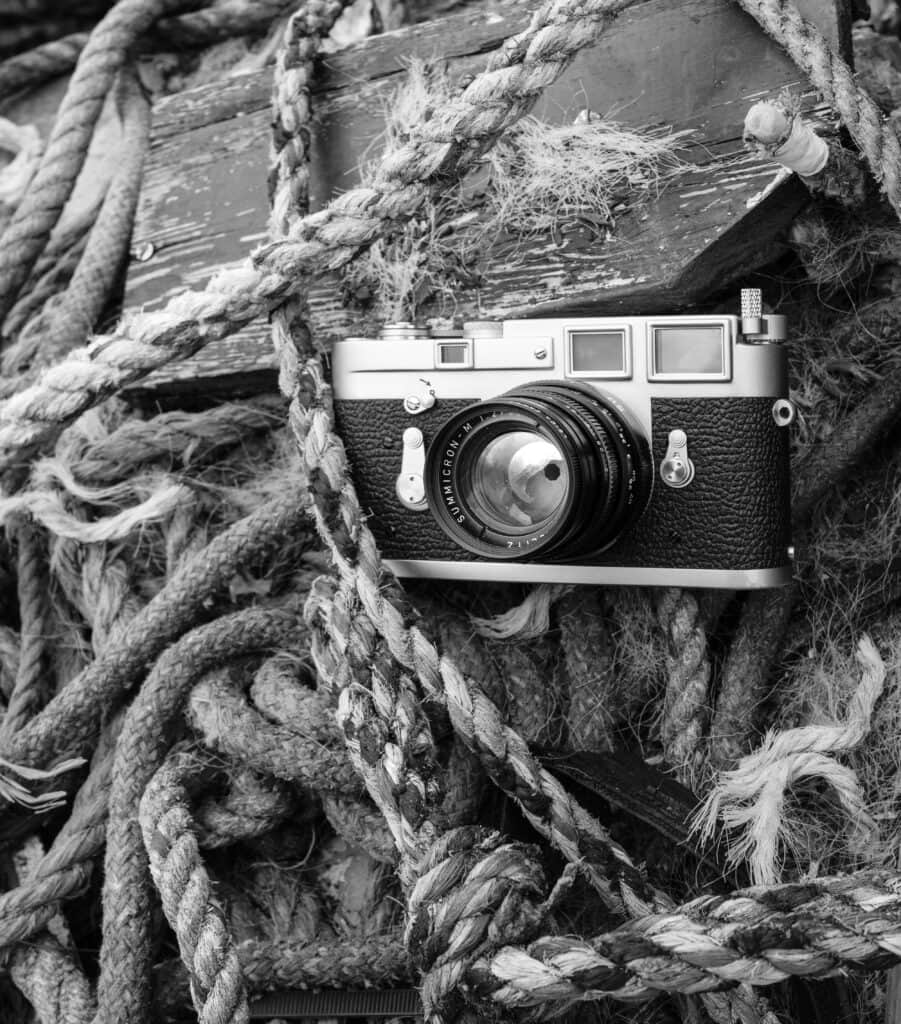
The M6 TTL is a pleasure to shoot with. Loading was trouble-free, and rewinding was quicker than with the M3. The framelines and rangefinder patch are bright, and I never encountered the path flare that some users find so troublesome.
The camera has a very solid tactile mechanical feel with a quiet shutter. Accurate, usable exposures are easily obtained by metering from a mid tone or shadow with texture, and the three-dot exposure display is intuitive. Perhaps best of all, those jewel-like miniature lenses are a joy to use. The body, film and lenses took up little space in my pack, and given the exertions of the hiking, I was glad they weighed so little.
Aftermath: Leica M7, MP M-A and The Return of the M6
In 2002, the M6 TTL was succeeded by the M7, which introduced an electronically controlled shutter and aperture-priority auto-exposure and retained the same choice of viewfinder magnifications (0.58×, 0.72×, and 0.85×).
A year later, in 2003, Leica launched the MP (‘Mechanical Perfection’), which was a return to a mechanical shutter and the M3’s elegant, clutched but slow film winder. It also offered upgraded viewfinder optics to reduce flare. The MP was originally offered in all three magnification options, but is now only offered in 0.72 form.
In 2014, Leica introduced the M-A, a stripped-back, all-mechanical film body with no meter, positioned as the spiritual successor to the M3 and M2. It was produced only with the 0.72× finder, reaffirming that magnification as Leica’s universal standard.
Nearly two decades after the original, Leica revisited the M6 (2022): a modernised interpretation of the 1984 M6 Classic, with brass top and bottom plates, improved coatings in the finder, and 0.72× magnification. The model sported the three-LED light meter display of the M6 TTL but omitted both the larger shutter dial and TTL flash metering.
Final Word
A year or so after I acquired the M6 TTL 0.58, I purchased a black 0.85 M7. This late-model film camera, which features a few additional refinements I appreciate, including Aperture-Priority Auto-Exposure (AE), an exposure compensation dial (±2 EV in 1/3-stop increments), and DX coding with manual override. On the last point, the one control that lets the M6 TTL down is the fiddly ISO dial on the back. The M7 does introduce a battery dependency, but has two manual backup speeds of 1/60s and 1/125s, and I always carry spares.
In theory, I should prefer the M7. In practice, the M6 TTL has become my go-to Leica. I think this is for two reasons. The first, and most important, is that I now shoot with a 28mm lens most often for landscapes and street photography, rather than a 35mm lens. This is a focal length I came to really appreciate with the Leica Q and subsequently the Q2, and for that, it is ideally suited.
Secondly, I prefer the M6 TTL’s manual exposure display to the Auto Exposure mode on the M7, despite the promise of higher accuracy offered by the quartz-timed stepless speeds in that mode. The M7 offers the same manual focus display as the M6 TTL, though limited to the engraved shutter speeds in manual exposure.
Much praise has been heaped on the Q series with its built-in 28mm Summilux, whilst its tele and standard siblings shade the wide-angle Ms. I can understand why that is the case, but for me, the 0.58 has proved to be a very happy accident, and I wouldn’t swap it.


 Inspiration
 Q Results
 It’s been a while…
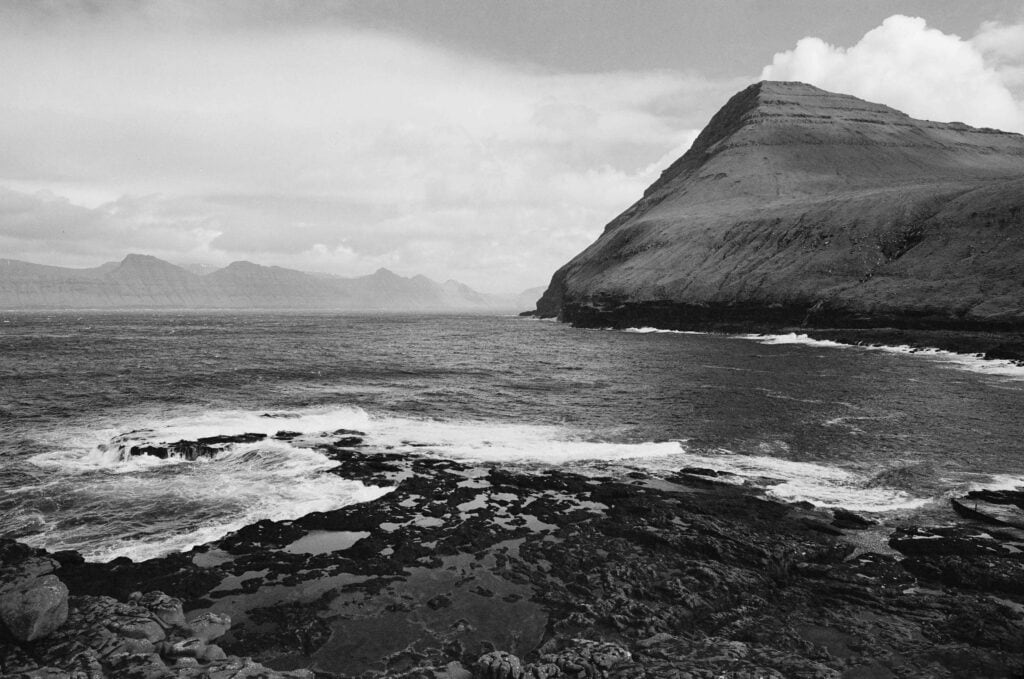