The Konica I Rangefinder

If you are familiar with early rangefinder cameras, the Konica I (1947-1951) will look and feel familiar enough. If not, and it is your first encounter with a rangefinder, or if you are used to modern rangefinders, the little Konica offers a distinct shooting experience.
Konica I Rangefinder
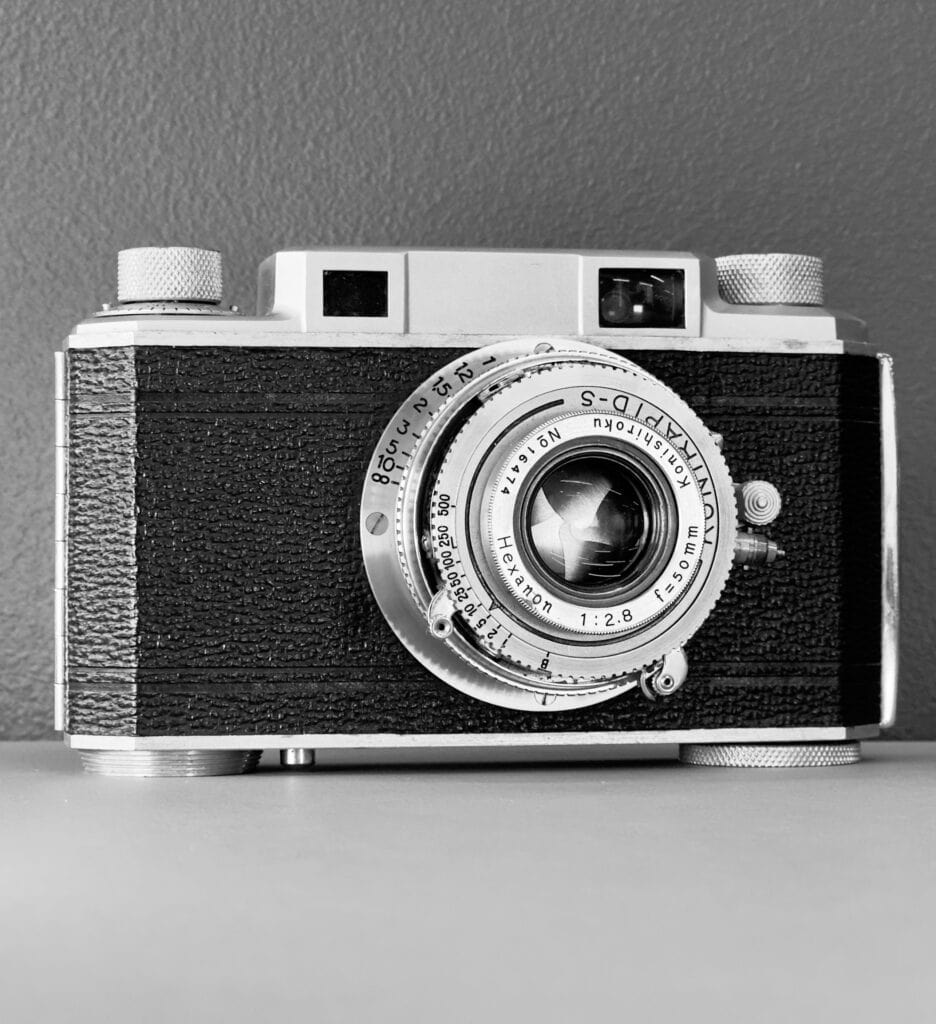
The Konica I Rangefinder. This is a Type F from 1951.

The Konica I is based on the design of a late 1930s 35mm prototype called Rubikon, which was re-purposed for X-ray photography during WWII. After the war, Konishiroku (the company name at that time) returned the Rubikon to its original design and renamed it ‘Konica’. This was derived from ‘Konishiroku’ and ‘camera’, a similar naming convention to ‘Leica’ and ‘Yashica’. The result was the 1947 Konica I rangefinder, the company’s first 35mm camera.

Whilst researching the Konica rangefinder, I discovered that Konica has a long and fascinating history with many firsts and wrote a short article on it, which you can find here.

Early Rangefinder Development

The first rangefinder cameras, sometimes referred to as “telemeters” – a pleasingly futuristic sounding term – appeared early in the twentieth century. Kodak was first to market with a coupled rangefinder camera in 1916 with the Kodak 3A Autographic Special. Kodak’s pioneering autographic feature creates another interesting diversion – you can read about it in my review of The Kodak No. 2 Autographic Brownie.

The Leica I of 1925, not itself a rangefinder camera, popularised the use of accessory rangefinders. A few years later in 1932, The Leica II and Zeiss Contax I were launched and gained popularity. In 1936 the Contax II integrated the rangefinder into the viewfinder, an innovation that was introduced by Leica only in 1954 with the legendary M3.

The Konica I Rangefinder

The Konica I is a coupled rangefinder film camera with a single eyepiece and an excellent 50mm Konishiroku Hexanon coated 50mm f/2.8 lens. The Hexanon is a Heliar type with 5 elements in 3 groups and the Konirapid-S leaf shutter offers speeds of 1–500 second and Bulb (B).

First Impressions

The first thing you are likely to notice about the Konica I is how solid it feels. While it doesn’t have quite the ‘milled from solid steel’ feel of a Leica M3, it has a real quality feel to it.
Konica I Rangefinder
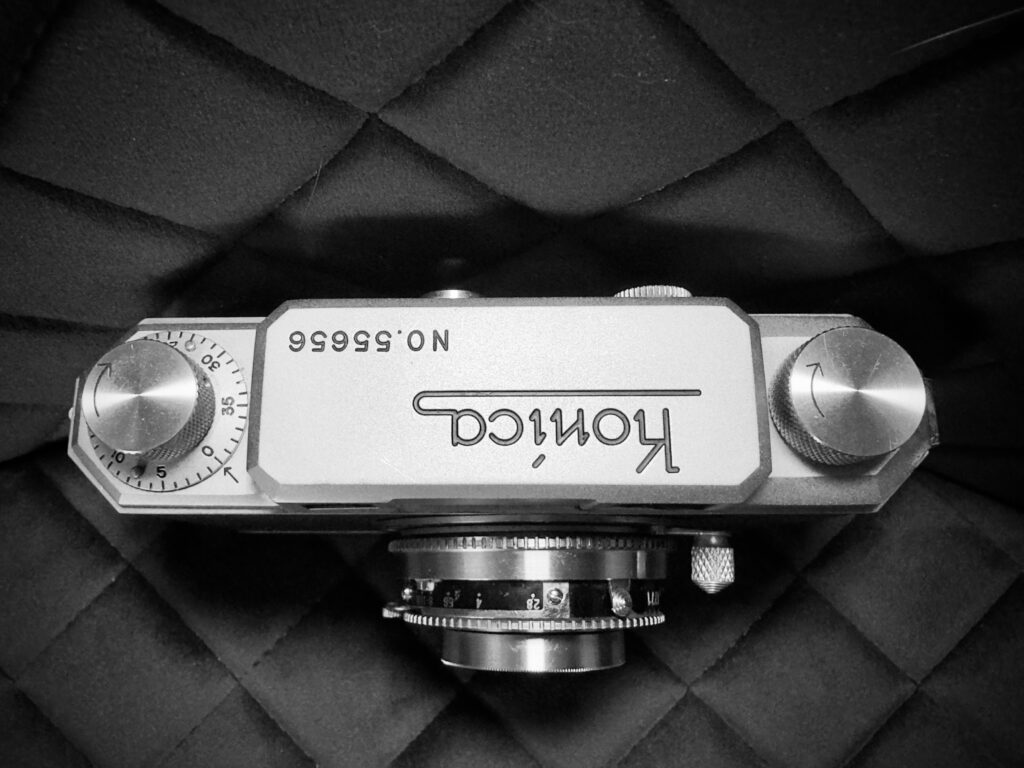
Top view of the Konica I.

Significantly, the rangefinder is bright, which is another hallmark of quality. Moreover, unlike many early rangefinder cameras, there is a single window rather than two separate rangefinder and viewfinder windows – like the Leica M3 of 1954. Unlike later Konica rangefinder models, there are no framelines and no parallax compensation, which is reflected in some poor framing on the first roll of film I shot.

Like many cameras with leaf shutters in the first half of the twentieth century, most of the controls including the shutter cocking lever, shutter release, shutter setting ring (and scale) are on the lens barrel. Right at the front is the shutter speed dial. The lens itself is retractable and requires pulling out and turning to lock in place, which is the same as on the Leica I.

A Closer Look

The top plate is engraved ‘Konica’ with the serial number (see variants below), and there is a winding knob, rewinding knob and a frame counter. On the rear of the top plate is a single rangefinder/viewfinder eyepiece and an unmarked, initially mysterious, button. Below, the bottom plate has a locking disk for opening and closing the camera back, a small silver film rewind button and a tripod socket.

Like many rangefinders, the Konica I uses helicoid focusing. This system rotates the lens element along a helical thread and moves it closer or further from the film plane. It was adopted by Oscar Barnack of Leica for the precise and repeatable focus in a short throw that it offered. Focus is operated via a ‘fingertip lever’ on the lens barrel, where the distance and (tiny) Depth of Field scales are engraved. The focus range on my model is 1-10m and infinity.

A useful cable release can be found on on the lens barrel along with a less useful (for me) and rather obtrusive flash connection post (or plug), which is marked bright red. The flash sync speed for those models that have it is 1/50 second.

I don’t know what the rangefinder base of the Konica I is (though I could measure it), nor could I find the viewfinder magnification. Accordingly, I can’t work out the rangefinder’s Effective Base Length. However, as the Konica I features a fixed 50mm lens that’s not too much of a concern; long lenses or ultra fast lenses make this a more important consideration.
Konica 1
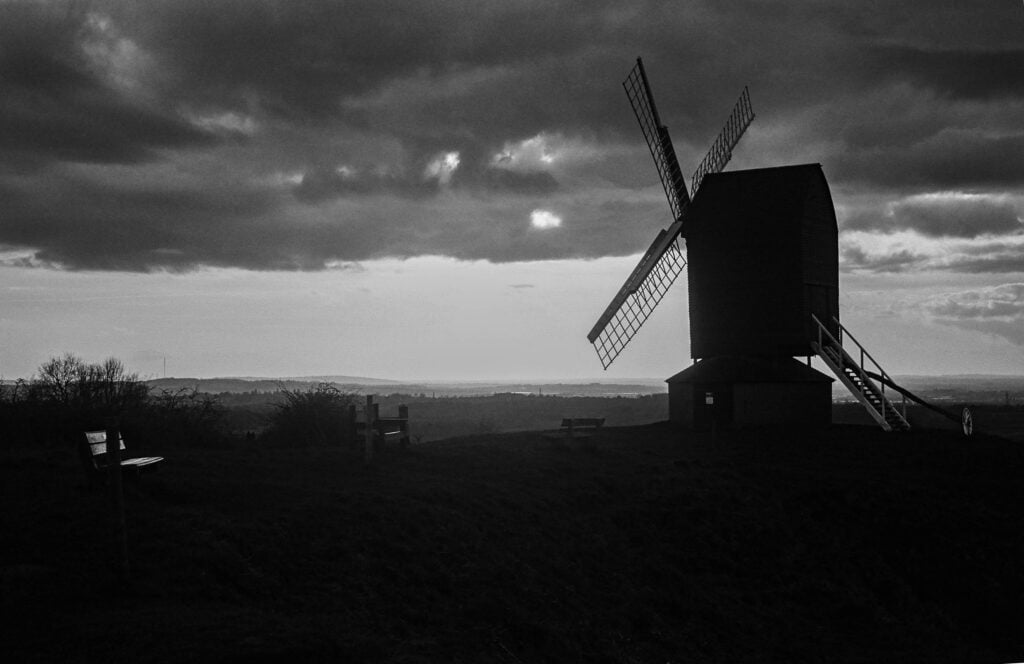
Brill Windmill at dusk, shot with the Konica I rangefinder

Loading

Loading the Konica is simple enough. You open the camera back by turning the locking wheel on the bottom plate from ‘C’ to ‘O’ in the direction of the marked arrows. Insert the film canister into the camera, and pull the film leader across to the take-up spool in the normal fashion, engaging the film perforations onto the sprocket. You can then advance the film with the wind on knob on the top plate and reset the exposure counter to zero.

Shooting with the Konica I

Shooting is slower and requires a few more steps than later rangefinders, as the controls are not connected in the way that they are on later models. The shutter is not cocked by the film advance – this came with the Konica III in 1956; the shutter has separate levers for cocking and firing, and the winding knob needs a separate winding button (the mystery revealed!) to drive the exposure counter.

In a charming review of the Leica I Model A: First review of the new 1930 model the reviewer ‘Cyclops’ describes this feature as a film advance computer.  He goes on to remark that “this intelligent and pioneering system clicks along, frame by frame, so you always know exactly where you are. What will they think of next? The same review describes the shooting process as Having wound on your film set your aperture, decided on exposure time, calculated the distance to the subject and framed the scene you are ready to go“. This is similar to what you will experience with the Konica, though with the luxury of a single window.

Preparing to Shoot

Before taking a picture, firstly pull out the lens and twist left until it locks in place. Failure to do this will result in very blurred pictures. There is only one true locking position, but it can feel like it is locked in others.

Secondly, make sure you have removed the lens cap. This is obvious, I know, but rangefinders can’t ‘see’ through the lens, so if you leave it on, you won’t notice any difference in the viewfinder.

Thirdly, you’ll need a light meter reading or use the Sunny 16 rule – there is no built-in light meter. I am OK at estimating lighting, but I prefer to confirm with a meter. I use an app on my iPhone (myLightmeter Pro), which works really well and is very convenient.

Shooting Steps

Here are the shooting steps. As you will see, there are a couple more than you would find on later rangefinders like the Leica M3.

  • Set the required aperture using the iris adjustment tab at the bottom of the lens barrel. It is quite small and is marked with concentric rings.
  • Set the required shutter speed with the shutter speed dial at the front of the lens barrel.
  • Focus the lens using the knurled focus lever. It has a nice smooth action.
  • Cock the shutter using the lever on the lens barrel. If the shutter is uncocked the lever is visible in the viewfinder window. The back of the lever is painted red to act as a flag.
  • Fire the shutter using the shutter release trigger using your index finger. This felt natural to me after just a few frames.
  • Press the frame counter button
  • Wind on the film (full turn) to the next frame.

I noticed a couple of things when I took my first roll of film. Firstly, the shutter release is very sensitive and so has a finger support to prevent accidental releases. Secondly, there is no automatic double exposure prevention, as you can always cock and release the shutter. Perhaps unsurprisingly, this was corrected by the Konica II, but for Konica I users this combination can lead to wasted frames.

The overall experience is satisfying if you enjoy slow photography and the quality of the images is excellent. However, the wind on button does take some getting used to.
Konica I
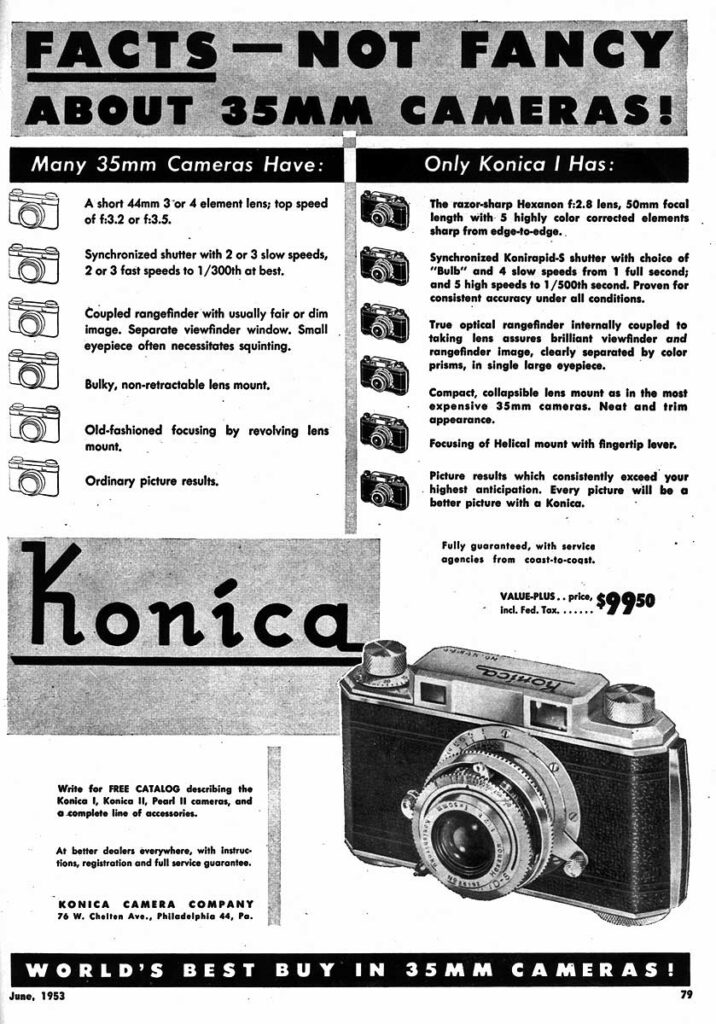
A US Ad for the Konica I

Manufacturer’s Instruction Manual

If you are looking for more information on shooting the Konica I, you can find a scanned copy of the Konica I Rangefinder manual at Mike Butkus’s site.

Identifying Model Variants

During my research, I found that my Konica I (which I purchased from the excellent Coeln Cameras) is a Type F. I also discovered that the camera was originally known just as The Konica and only gained the designation  Konica I, or Konica Standard later.

Type Ab and As models had ‘Made in Occupied Japan’ engraved on the top plate, whilst B and Type C models had this embossed in the bottom leatherette. Type C can be distinguished form the B as the name ‘Konishiroku’ is omitted from the back door. Subsequently, the Type Cs introduced the Konirapid-S Shutter, whilst the Type D updates the text on the camera bottom to read ‘Made in Japan.’ Type E introduced the Hexanon f/2.8 lens. Finally, the Type F can be identified by the ‘Made in Japan’ engraving on the metal door lock wheel on the bottom plate.

Lens Variations and Serial Numbers

Konica I Ab and As models were fitted with the f3.5 Hexar lens. With the Type B and C models a Hexar f2.8 version became available and the superior Hexanon f2.8 was introduced with the E model. According to the Konica Collector website, the f3.5 Hexar serial numbers run up to 37,600, the 2.8 Hexar to 46,000 and the 2.8 Hexanon to 68,700.

Pros and Cons

Pros

  • Combined viewfinder and rangefinder with bright rangefinder patch
  • High quality construction
  • Excellent f2.8 Hexanon lens
  • Compact with retractable lens
  • Inexpensive to purchase

Cons

  • No double exposure prevention
  • Need to remember to press the wind on button before advancing the film
  • No strap lugs
  • No parallel compensation
  • Highly sensitive shutter trigger easy to release accidentally

Thoughts and Further Reading
Konica I
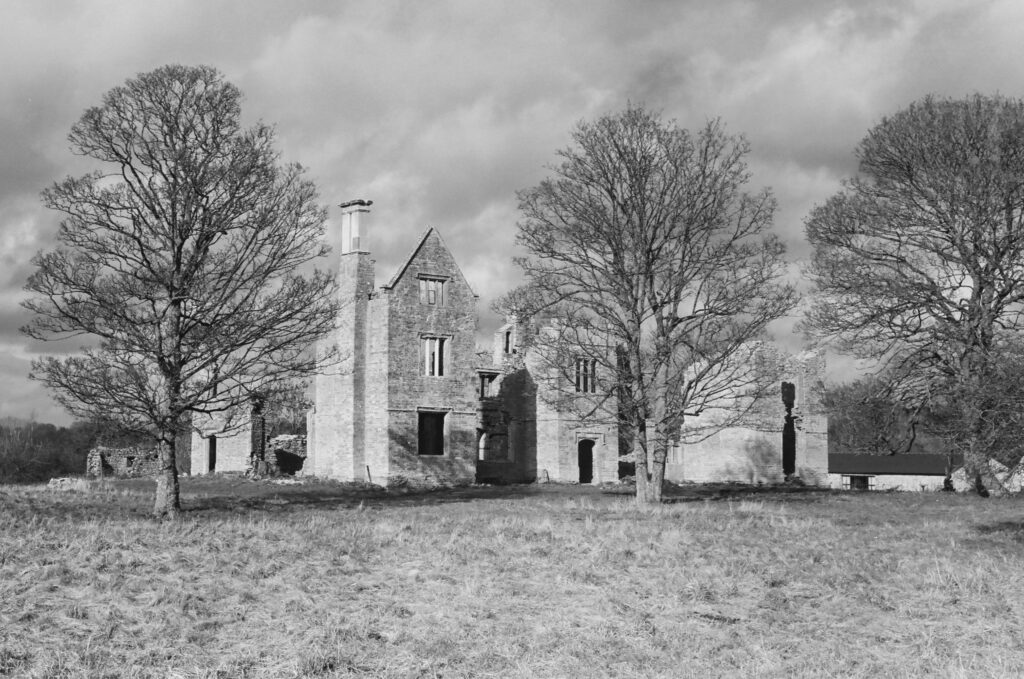
The Ruined Manor at Hampton Gay, 2024, shot with the Konica I

If you have thoughts or experiences you’d like to share on the Konica I, I’d be delighted to hear from you – please leave me a comment below. There is more to read on classic cameras, the history of photography and travel on this site. You might be interested in these articles:

The Leica M3 – Great Film Cameras

When I went back to film in 2016, it was with an SLR, the Nikon F3, and the idea of shooting with a rangefinder had never occurred to me. During lockdown, I became curious about other kinds of cameras and acquired a couple of inexpensive rangefinders: an Agfa Optima 1535 and a Yashica Electro 35 GSN. Enjoying the rangefinder experience (albeit a highly simplified one) and getting some decent results from these very inexpensive cameras, I decided that I needed a proper rangefinder and found myself a Leica M3. It was made in 1962 but still looked brand new.

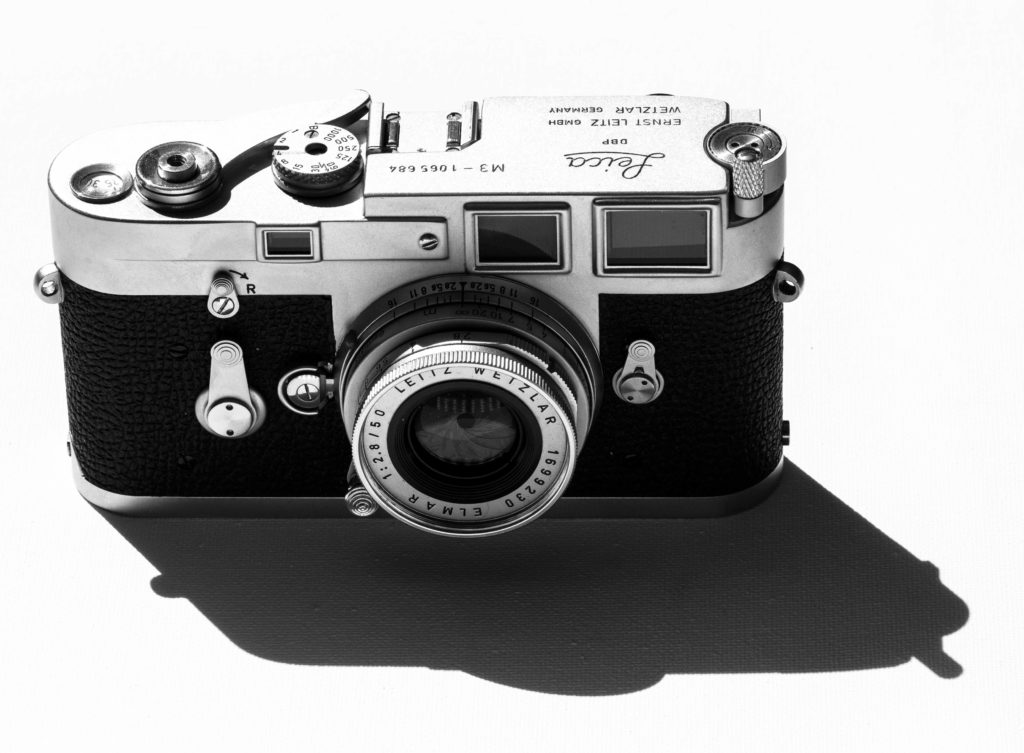
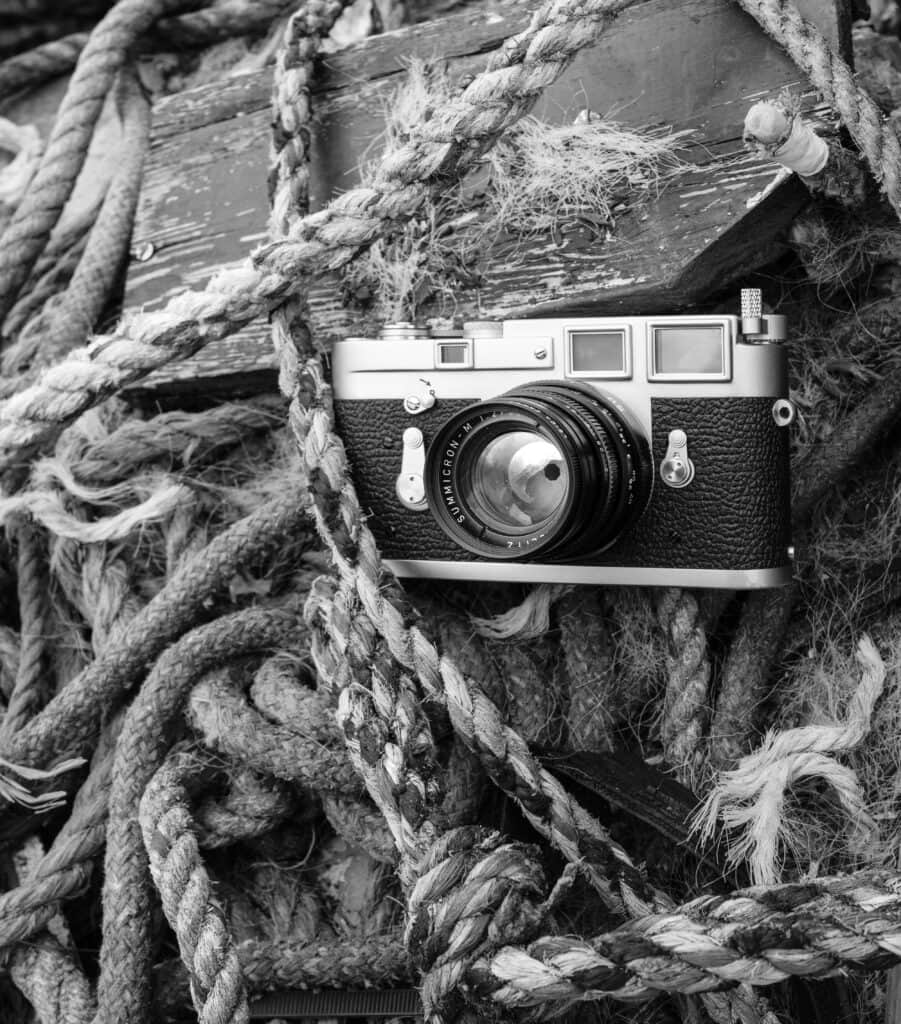
1962 Leica M3 with 50mm Elmar. The winding crank is an aftermarket addition.

Genesis of the M3

By the time the M3 was launched in 1954, Ernst Leitz GmbH of Wetzlar, Germany had already provided the photographic industry with two defining moments in the history of photography. The Leica I of 1925 had created the new ‘miniature’ 35 mm format and in 1930 the Leica II introduced interchangeable lenses and a built in rangefinder.

M is for Messucher

The ‘M’ in M3 comes from “Messsucher” the German word for “measuring viewfinder/rangefinder” which was the M3’s main feature: a ‘high-magnification’ (0.91x) single viewfinder/rangefinder eyepiece which placed the rangefinder focusing patch inside the viewfinder. Previous generations of Leicas, known as screw-mount or ‘Barnack’ Leicas, had separate eyepieces for focusing and framing.

I put ‘high magnification’ in quotes because there is no actual magnification, but the M3 is as close to 1:1 as you can get in the world of Leica rangefinders, where negative magnification is the norm. This is not the case with all manufacturers. Nikon’s rangefinders of the 1950s, such as the S2, for example, did offer 100% magnification.

3 Lenses

The ‘3’ in ‘M3’ referred to three sets of frame lines seen through its single bright viewfinder window, for three lenses: 50mm, 90mm and 135mm. These were automatically corrected for parallax.

Most of the M3’s features were not new, but like the Nikon F SLR of 1959, the Leica M3 combined a number of existing innovations in a superbly engineered package. The 1930s saw a great deal of innovation and saw the introduction of the newly standardised 135 film cartridge (Kodak Retina I, 1935) and affordable rangefinders (Argus C3, 1936). Many of the features that were improved (or in some cases perfected) in the Leica M3 came to market during this decade:

  • The Zeiss-Ikon Contax I rangefinder offered a bayonet lens mount in 1932
  • The Kine Exakta, the world’s first popular 35mm SLR had a film winder in 1936, though it was not the first model to introduce this.
  • The Contax II offered a combined range/viewfinder in 1936
  • Automatic parallax compensation arrived with the scale-focusing Minox of 1937

The World’s Best Rangefinder?

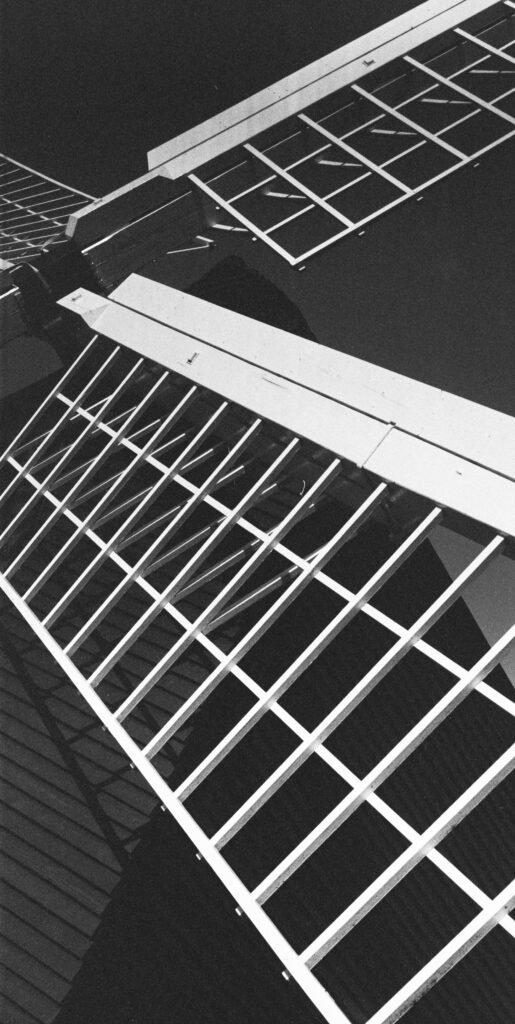
The Post Mill at Brill, shot with Leica M3 using a red filter

However, the Leica M3 was the first camera to feature true projected parallax-compensating frame lines for its 50mm, 90mm, and 135mm lenses. Even better, the right frame automatically appears in the viewfinder as the photographer mounts a lens of the corresponding focal length. This is known as auto indexing. Handily, the effect of using other lenses can be previewed using the manual frame selector lever located below the front finder window.

The M3 uses a horizontal cloth focal-plane shutter with a maximum speed of 1/1000 second and a maximum flash sync of 1/50. It is extremely quiet – nearly as quiet as a leaf shutter.

To describe the M3 just by its features doesn’t do it justice. It feels like so solid, with its top and bottom plates of chrome-plated brass, that its hard to image it has any component parts. One reviewer suggested the M3 should have its own element on the periodic table! To this day it is regarded by many as the finest rangefinder ever built. To some, it’s the finest camera, ever. Even today, in terms of design excellence and manufacturing quality it is astonishingly good,

Impact and Notable Users

For the professional or enthusiastic amateur photographer of the 1950s, the M3 offered the brightest and clearest view in the combined viewfinder/rangefinder, the best lenses available, a bayonet lens mount for quick lens changes, and a film advance lever for faster shooting. All this in a package weighing a little over 600g! This came at a price as the M3 cost about 50% more than the already expensive Leica III, but Ernst Leitz spared no expense in making the M3.

The reception of the Leica M3 was exceptionally positive, with photographers praising its build quality, reliability, and optical performance. It quickly became the camera of choice for many of the era’s leading photographers, including Henri Cartier-Bresson, Robert Capa, Robert Frank, W. Eugene Smith, Elliott Erwitt, Garry Winogrand, and David Douglas Duncan.

Variants

The Leica M3 was launched as a ‘double stroke’ (DS) model and updated to a ‘single stroke’ (SS) model in 1958. As this was the first lever wind-on model, Leitz was concerned about stressing the film and breaking it, so it split the winding into “double strokes.” This turned out to be unfounded. Mine is a later SS model, and I see no reason to prefer a DS, though some users consider the original mechanism superior.

Shooting Experience

Loading and Unloading

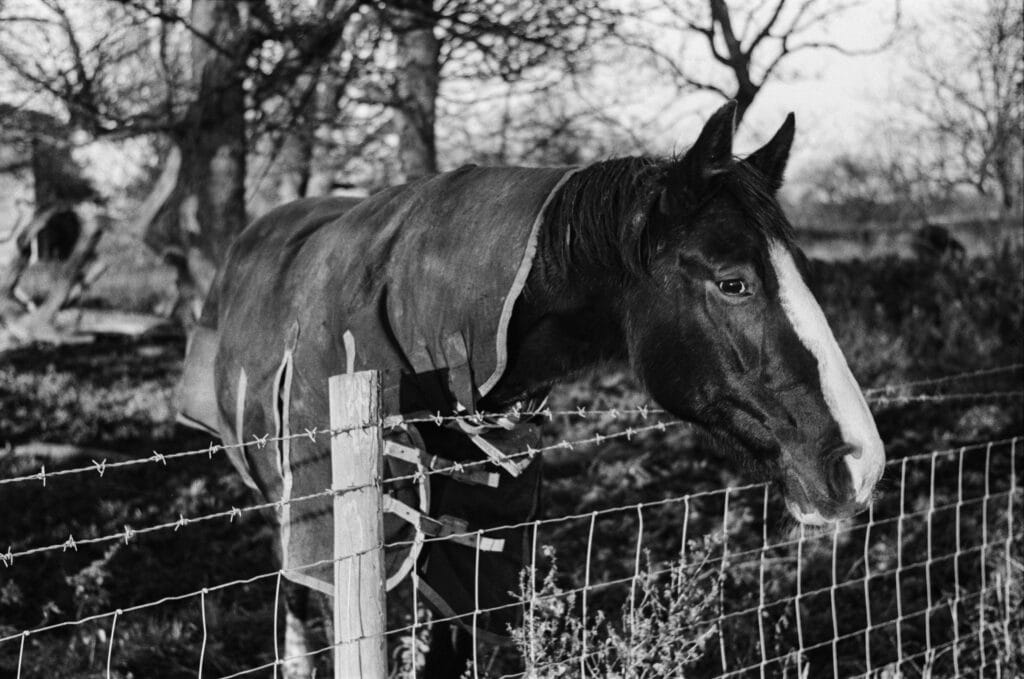
Horse at the ruins of Hampton Gay, shot with Leica M3

After the magnificent feel of the Leica M3, the loading experience is less impressive, as loading is a little slower than most 35mm models I have used. Leitz kept bottom loading from the Barnack era but with improvements. These included the addition of removable take-up spool to make the process of attaching the film leader easier by allowing it to be threaded outside the camera, and the addition of a rear door flap. When lifted, this flap provided enough access to ensure the film is correctly positioned over the sprockets and the pressure plate.

The rewind knob was also preserved, so there is no crank. To rewind the film, you move the lever on the front of the camera to ‘R’ (reverse), lift the knob out from the central advance indicator, and twist until the knob eventually resists. This is quite a slow process. I put an aftermarket crank on mine, which speeds up the rewind and doesn’t look too bad on the camera.

Through the Looking Glass

However, things improve significantly once that is over the way and you peering through that bright, clear uncluttered viewfinder. The frame lines on the M3 are limited to three and display one at a time – which is great. Newer Leicas have six and appear in pairs. The M3 is best suited to a classic 50mm lens and that’s what I use most.

Before I got an M6 TTL with 0.58X magnification and 28mm framelines I configured the M3 with an external viewfinder and it delivered good results. There are also 35mm ‘Goggles’ available, which I haven’t tried, but apparently you lose some of that magic viewfinder brightness.

Focusing, including critical focusing, is also much easier on the M3 than any other rangefinder I have used, including later Leicas like the M6 TTL. I’ve never had a blurred shot yet, which is definitely not the case with the other elderly rangefinders I’ve used.

Leica Lenses

The M3’s Elmar 50mm

Leica lenses are fabulous. My 1962 M3 came with a period-correct collapsible Elmar 50mm f2.8, which is the successor to the original Leica f/3.5 50mm Elmar of 1925-1961.

The Elmar was superseded by 50mm Summicron, Summilux, and Noctilux lenses in the 1970s.  By that time Leitz had sold just over half a million lenses, so there are plenty about. The tiny Elmar is finished in chrome. It is an excellent lens and looks great on the M3.

Summicron f2 50mm

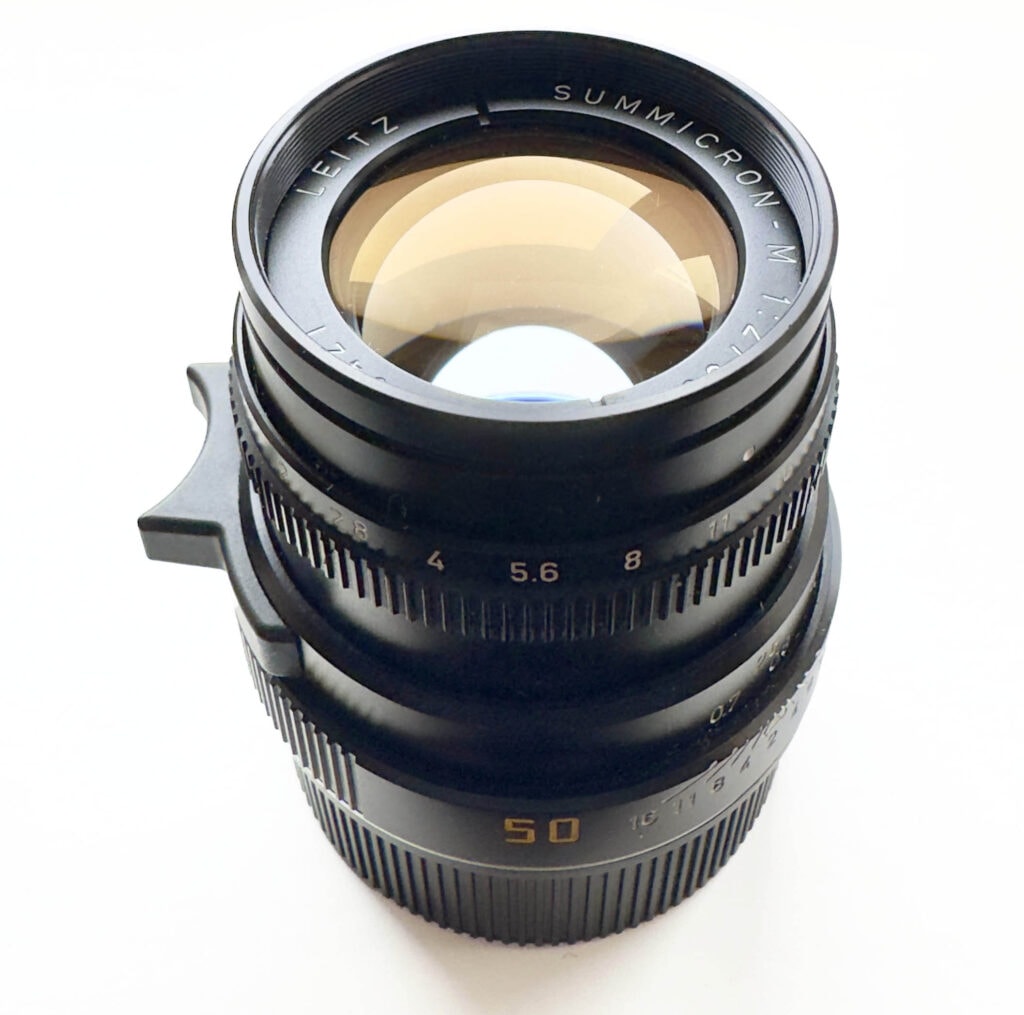
I have also have a lightly faster f2 50mm Summicron-M in the form of the Type IV (11819) made from 1979-1993, which has a 39mm filter thread and a separate metal vented hood. It is very compact and astonishingly good. It is easy to recognise by its tapering, almost conical shape.

Leica M3
Summicron-M 50mm Type IV

The latest generation of this lens (APO-Summicron-M ASPH f/2.0) has a much higher specification, which offers better correction of colour and aspherical aberrations, a floating lens element and built in lens hood. This version is much more costly at £7,200 at the time of writing, vs £1200-1500 for the 11819.

In addition to the finest optical performance Leica lenses are accompanied by what many refer to as the ‘Leica look’ – as described in this Art Photo Academy article.

What makes Leica lenses so different is their exceptionally high micro-contrast, i.e., an ability to register a nearly full variety of tonal variations between slightly darker and slightly brighter areas of very similar colours. It is the high micro contrast that is responsible for rich colours and smooth tonal transitions that all amount to the three-dimensional “feel”.

I have observed that phenomenon with Leicas, both with the digital Q2, and on film with the M3 and M6 TTL: some shots do have a noticeably more three-dimensional look than I see with pictures taken on other cameras.

Leica M3
Leica M3 with 50mm Summicron on Deal Beach

Adding a Light Meter

Though using the Sunny 16 rule is straightforward enough, and black and white film is very forgiving, I always have a light meter to hand in the form of the iPhone app myLightmeter Pro. Some photographers seem to regard the use of a light meter as a weakness, but that’s not my point of view. I usually estimate the light, take a meter reading and then set the shutter and aperture – it’s interesting to see how often you and the meter agree, and it helps develops your estimation skills. Also, given the M3 allows the shutter speed to be set between the marked speeds, a light meter reading can be beneficial in making the best use of the ‘in-between speeds’ as a form of exposure compensation. That’s a bit of a stretch for Sunny 16…

An accessory shoe-mounted external light meter is another option. I’ve used the Voigtlander VC Meter II, which uses ‘over and under’ LED exposure arrows controlled by aperture and shutter speed dials. There are other options, too. The DOOMO Meter D looks similar but has plus and minus LEDs, and their Meter S offers an OLED display screen. HEDECO also offer an OLED model, the Lime Two.

Adding a 28mm Lens and Viewfinder

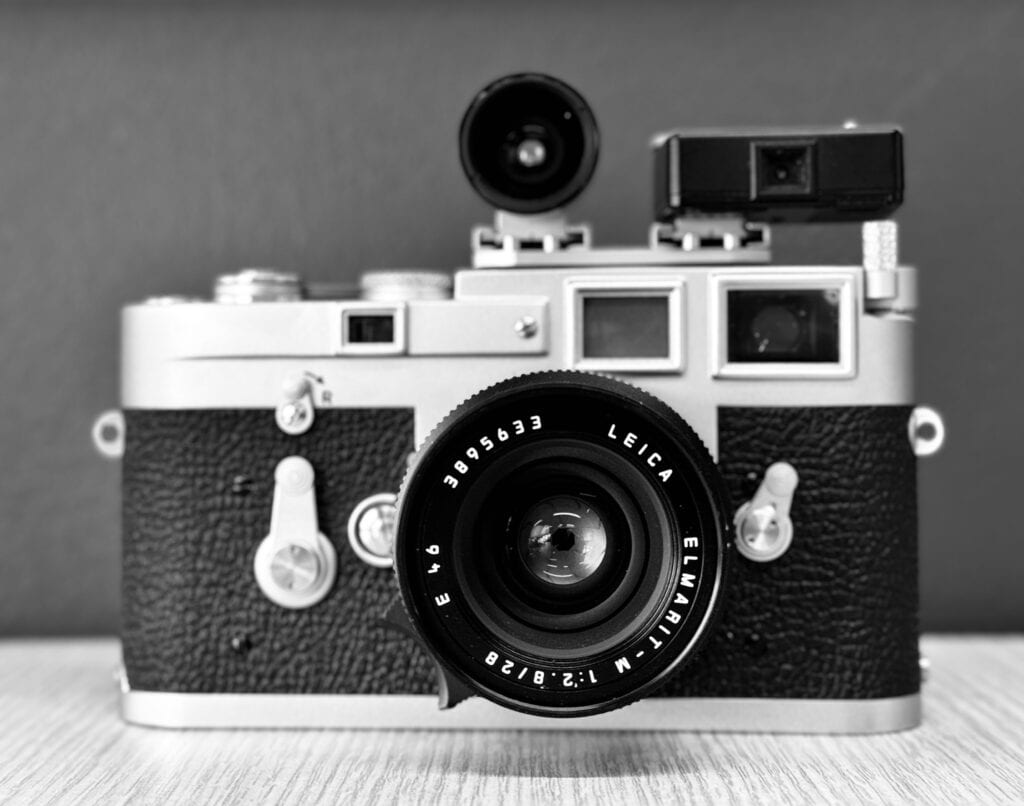
1962 Leica M3 with 28mm Elmarit, external light meter and viewfinder

For landscape photography, the 50mm sometimes isn’t wide enough, so I added a Voigtlander external viewfinder and a 28mm Elmarit-M f2.8 lens. I picked up the E46 filter thread version (11809), which is the last non-aspherical (ASPH) version and has a plastic hood which blocks a little of the viewfinder. This is an excellent lens, with low distortion. It is small and light and less costly than either later versions ,though they are even smaller and take the E39 filter thread which isn’t visible through the viewfinder.

To use the Elmarit-M with the external light meter and 28mm viewfinder required the use of a one-to-two slot adaptor – I found one made by Voigtlander. The clean lines of the M3 were utterly compromised by the resulting Frankenstein’s monster, but it works perfectly well.

Close Focusing

One downside to rangefinders, which I have to say hasn’t affected me at all, is their design is not suited to close focusing – close up they get their beams crossed. Most M mount cameras focus down to 0.7m with the M3 needing a little more runway at 1m.

Leica M3
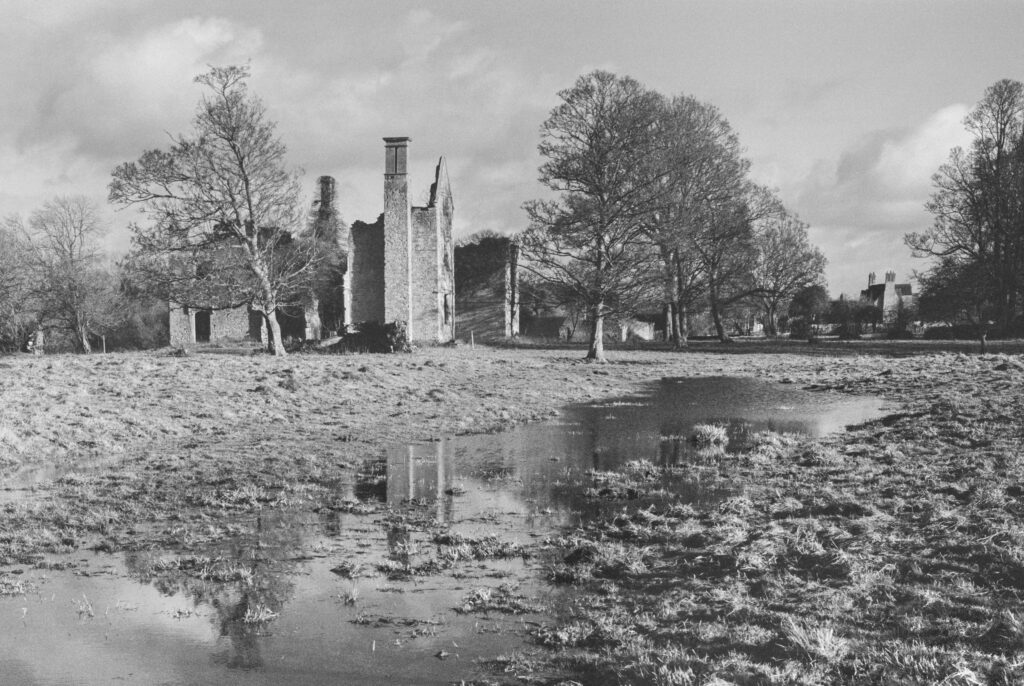
The ruins of Hampton Gay Manor House, shot with the Leica M3

The Successor, M4

Leitz shipped more M3s than any other M film camera, with over 220,000 units sold by the time production of the M3 model ended in 1966. Its successor model was the M4, which sold just 58,000 units. This was due to the declining market share of rangefinders and the rise of SLRs. It was not due to any deficiency in the M4, which offered several enhancements over the M3. These include an angled rewind lever, a self-resetting film counter and frame lines for 35, 50, 90 and 135mm lenses.

The M3 was the high watermark of rangefinders. Historically, that is certain. If we are speaking of models that is more open to debate but it still provides a very special photographic experience and exceptional results.

Thoughts and Further Reading

If you have experience with shooting a Leica M3, I’d love to hear from you – please leave me a comment below. You might also find the following articles on this site interesting: